Homemade Reese’s Cups Mini Bites
Highlighted under: Dessert Magic
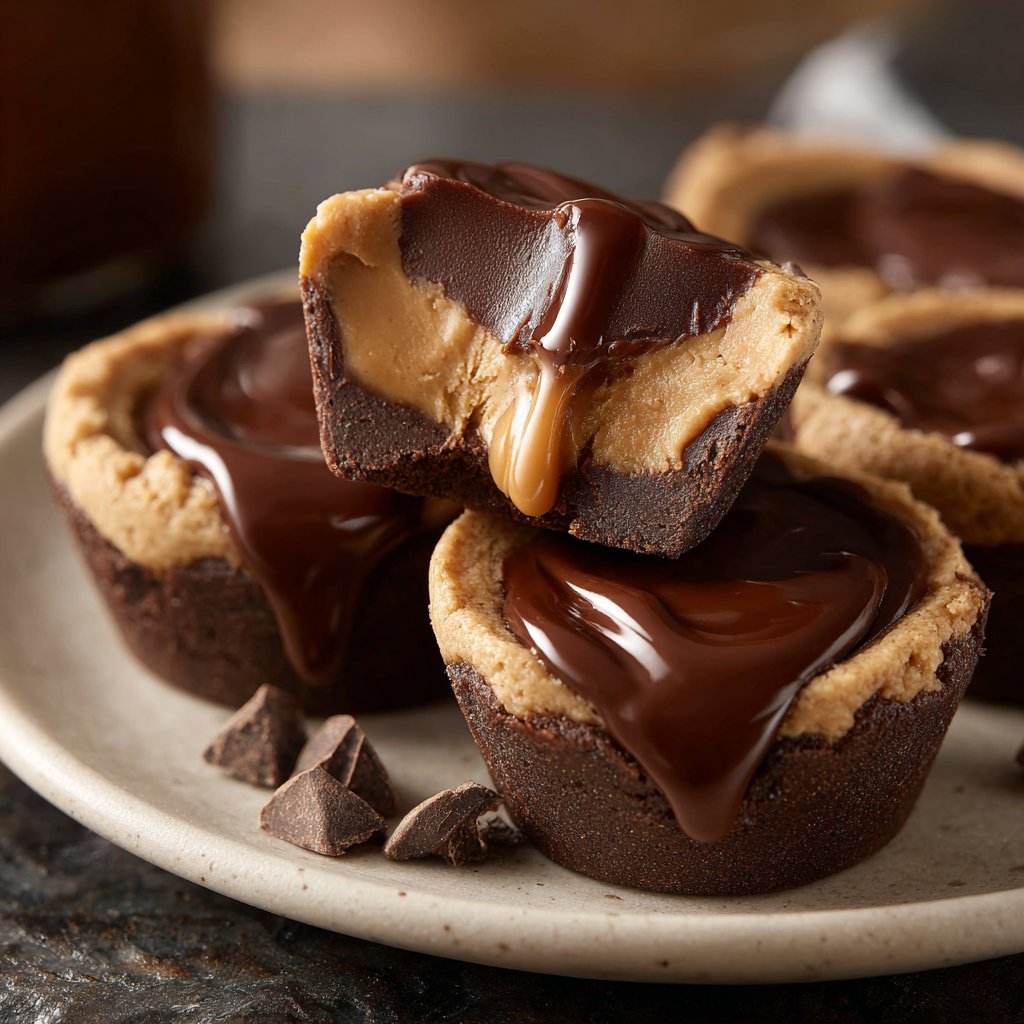
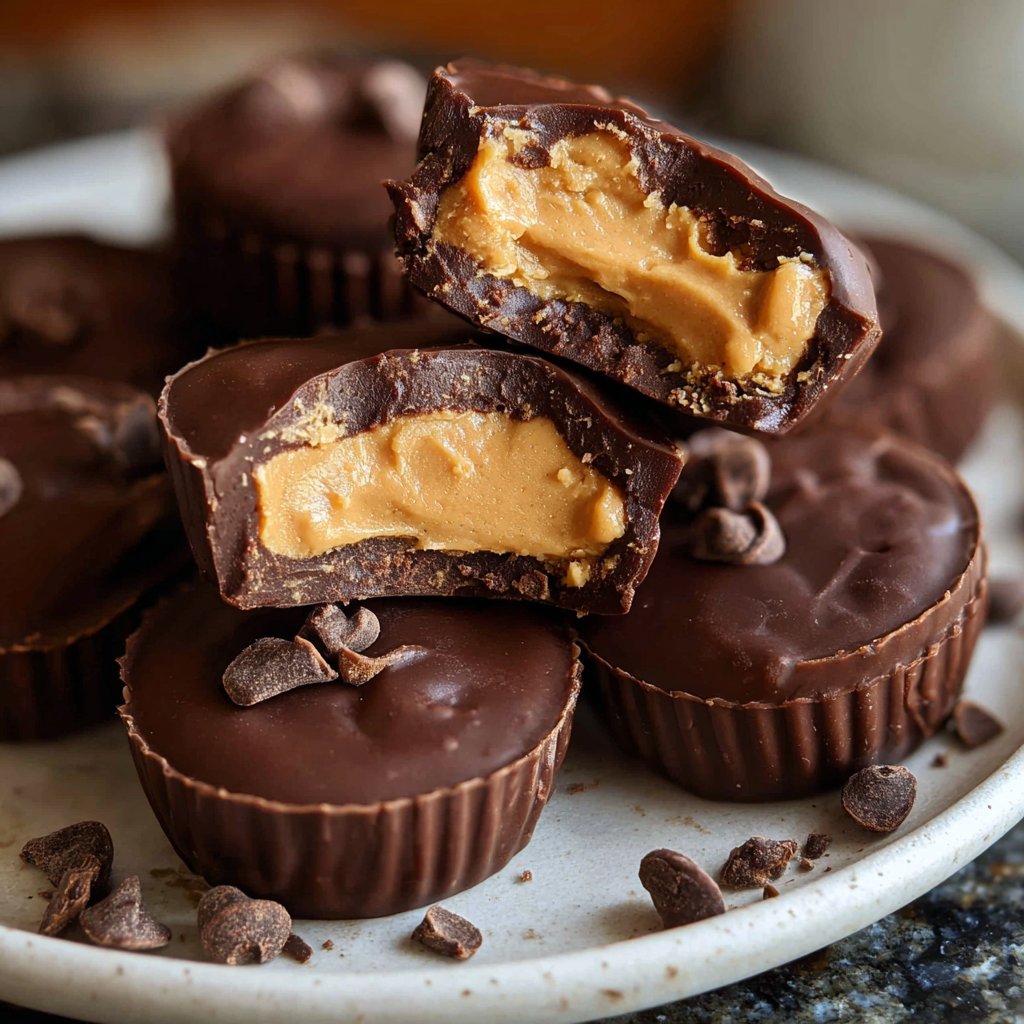
I love creating sweet treats that bring joy to friends and family. These Homemade Reese’s Cups Mini Bites are a delightful combination of creamy peanut butter and rich chocolate that never fail to impress. Each bite is like a mini version of the classic treat, making them perfect for sharing (or keeping all to myself!). I love how simple they are to make, and best of all, no need for any fancy equipment – just a mixing bowl and patience. Trust me, they’ll become a favorite in your home!
What I adore about making these mini Reese’s cups is the joy they bring during gatherings. I remember the first time I decided to recreate this classic candy at home; the taste explosion of chocolate and peanut butter was absolutely unparalleled. I experimented with different ratios of chocolate to peanut butter until I found the perfect balance that made each bite incredibly satisfying.
Another fun aspect is that they’re customizable! You can add a sprinkle of sea salt on top for an extra flavor boost or even mix in some crushed graham crackers for a delightful crunch. Allowing my creativity to flourish in the kitchen while observing my friends' and family's delighted reactions is the true highlight of making these treats!
Why You Will Love This Recipe
- Rich chocolate flavor paired with creamy peanut butter
- Perfect bite-sized treats for parties and gatherings
- Quick and easy to make with minimal ingredients
The Importance of Quality Chocolate
Choosing high-quality semi-sweet chocolate chips is essential for achieving a rich flavor that perfectly balances with the creamy peanut butter filling. Look for chips labeled 'real chocolate' rather than 'chocolate-flavored.' This distinction usually means better taste and texture in the final product. If you have a favorite brand, don’t hesitate to use it! Alternatively, you can chop a chocolate bar into small pieces for a different texture; just remember that the melting time may vary slightly.
When melting the chocolate with coconut oil, the oil helps to create a smoother consistency and a glossy finish. This is especially important as it allows the chocolate to harden nicely once cooled, giving your mini bites a professional look. If you find your chocolate is too thick after melting, add a bit more coconut oil in small increments until you reach your desired pourable consistency.
Perfecting the Peanut Butter Filling
When making the peanut butter filling, it’s critical to use creamy peanut butter to ensure a smooth and easily spreadable texture. Chunky peanut butter can be used for added crunch, but it may complicate the layering process. Incorporating the powdered sugar is not only for sweetness but also helps to bind the filling together, preventing it from becoming too greasy as it sits in the chocolate. Be sure to mix thoroughly until completely smooth to avoid any dry patches when you bite into your mini cups.
If you're looking to modify the filling for dietary preferences, almond or cashew butter can be excellent substitutes for peanut butter. These nut butters will add a slightly different flavor profile, but they still pair beautifully with chocolate. Just ensure they are also creamy and free from any added sugars or oils, which can alter the textural outcome of your cups.
Storage and Serving Suggestions
These Homemade Reese’s Cups Mini Bites can be stored in an airtight container in the refrigerator for up to two weeks. If you want to keep them for longer, they freeze beautifully! Just arrange them in a single layer on a baking sheet, freeze until solid, and then transfer to a freezer bag. They will last up to three months frozen. To serve, simply pull them out a few minutes before you’re ready to enjoy, allowing them to soften slightly for the best texture.
These mini bites make great additions to gift baskets or dessert platters and can even be a fun project for children to assist with. You might also consider adding a sprinkle of sea salt on top of the chocolate layer before chilling, which enhances the flavors and adds a delicious contrast. Feel free to experiment by adding a dash of sea salt-infused caramel in between layers for a fun twist!
Ingredients for Homemade Reese’s Cups Mini Bites
For the Chocolate Layer:
- 1 cup of semi-sweet chocolate chips
- 1 teaspoon of coconut oil
For the Peanut Butter Filling:
- 1/2 cup of creamy peanut butter
- 1/4 cup of powdered sugar
- 1/4 teaspoon of vanilla extract
These simple ingredients come together to create an indulgent treat!
Instructions
Prepare the Chocolate Layer
In a microwave-safe bowl, combine the semi-sweet chocolate chips and coconut oil. Microwave in 30-second increments until melted, stirring between each interval. Once smooth, set aside to cool slightly.
Make the Peanut Butter Filling
In a separate mixing bowl, combine the creamy peanut butter, powdered sugar, and vanilla extract. Stir until fully combined and smooth.
Assemble the Mini Bites
Using a mini muffin tin lined with paper liners, spoon about 1 teaspoon of melted chocolate at the bottom of each liner. Follow this with a small ball of peanut butter filling, then finish with another teaspoon of melted chocolate on top. Repeat until all ingredients are used.
Chill and Serve
Place the muffin tin in the refrigerator for about 10 minutes, or until the chocolate is set. Once firm, remove from the liners and enjoy your delicious Homemade Reese’s Cups Mini Bites!
These mini bites are best stored in the refrigerator to maintain their shape!
Pro Tips
- For an extra layer of flavor, consider sprinkling crushed pretzels or topped with a dash of sea salt before the chocolate sets.
Troubleshooting Common Issues
If the chocolate doesn’t set properly after chilling, it could be due to excess moisture in the muffin tin or within the chocolate layer itself. Make sure your mixing bowl and utensils are completely dry before beginning to prevent any water from making contact with the chocolate. Additionally, if the chocolate feels too thick to work with, a touch more coconut oil can remedy this problem without compromising flavor.
In some cases, the chocolate may crack when you remove the mini bites from the liners. If this happens, ensure that the chocolate layer is thick enough at each layer. A thinner chocolate layer can make it more fragile. An ideal thickness is about 1 teaspoon each for the base and top. If you’re using paper liners, consider silicone muffin cups; they tend to release treats more easily.
Scaling the Recipe
This recipe can easily be scaled up or down depending on your needs. If you’re hosting a larger gathering, simply double the ingredients to make more batch with the same great taste. You might need to adjust the chilling time in the refrigerator depending on how many you’re preparing, as stacking them more densely may require a longer set time.
For smaller occasions or if you just want to satisfy a sweet tooth, halving the recipe is straightforward as well. The mini bites can be made directly in a smaller muffin tin, giving you the same delightful treat in just a little less time. Just keep an eye on your assembling, making sure measurements for filling and layers remain consistent for each cup to maintain their delicious taste.
Questions About Recipes
→ Can I use dark chocolate instead of semi-sweet?
Absolutely! Dark chocolate will add a deeper flavor that pairs wonderfully with peanut butter.
→ How long can I store these mini bites?
They can be stored in an airtight container in the refrigerator for up to two weeks.
→ Can I freeze these mini bites?
Yes, they freeze well! Just ensure they’re in a tightly sealed container to avoid freezer burn.
→ Is it possible to make these nut-free?
Yes, you can substitute the peanut butter with sun butter or any other nut-free alternative.
Homemade Reese’s Cups Mini Bites
Created by: Jenna Rowland
Recipe Type: Dessert Magic
Skill Level: Easy
Final Quantity: 24 mini bites
What You'll Need
For the Chocolate Layer:
- 1 cup of semi-sweet chocolate chips
- 1 teaspoon of coconut oil
For the Peanut Butter Filling:
- 1/2 cup of creamy peanut butter
- 1/4 cup of powdered sugar
- 1/4 teaspoon of vanilla extract
How-To Steps
In a microwave-safe bowl, combine the semi-sweet chocolate chips and coconut oil. Microwave in 30-second increments until melted, stirring between each interval. Once smooth, set aside to cool slightly.
In a separate mixing bowl, combine the creamy peanut butter, powdered sugar, and vanilla extract. Stir until fully combined and smooth.
Using a mini muffin tin lined with paper liners, spoon about 1 teaspoon of melted chocolate at the bottom of each liner. Follow this with a small ball of peanut butter filling, then finish with another teaspoon of melted chocolate on top. Repeat until all ingredients are used.
Place the muffin tin in the refrigerator for about 10 minutes, or until the chocolate is set. Once firm, remove from the liners and enjoy your delicious Homemade Reese’s Cups Mini Bites!
Extra Tips
- For an extra layer of flavor, consider sprinkling crushed pretzels or topped with a dash of sea salt before the chocolate sets.
Nutritional Breakdown (Per Serving)
- Calories: 110 kcal
- Total Fat: 8g
- Saturated Fat: 2g
- Cholesterol: 0mg
- Sodium: 15mg
- Total Carbohydrates: 9g
- Dietary Fiber: 1g
- Sugars: 6g
- Protein: 3g