Homemade Reese’s Cups with Sea Salt
Highlighted under: Dessert Magic
I absolutely adore these Homemade Reese’s Cups with Sea Salt! The first time I made them, I was amazed by how simple it was to recreate that iconic flavor in my kitchen. The combination of smooth peanut butter and rich chocolate brought back memories of enjoying these treats as a child. The addition of sea salt elevates them even further, making each bite a perfect mix of sweet and salty. I’ve found they make a delightful surprise for friends and family, and they're perfect for satisfying any sweet tooth!
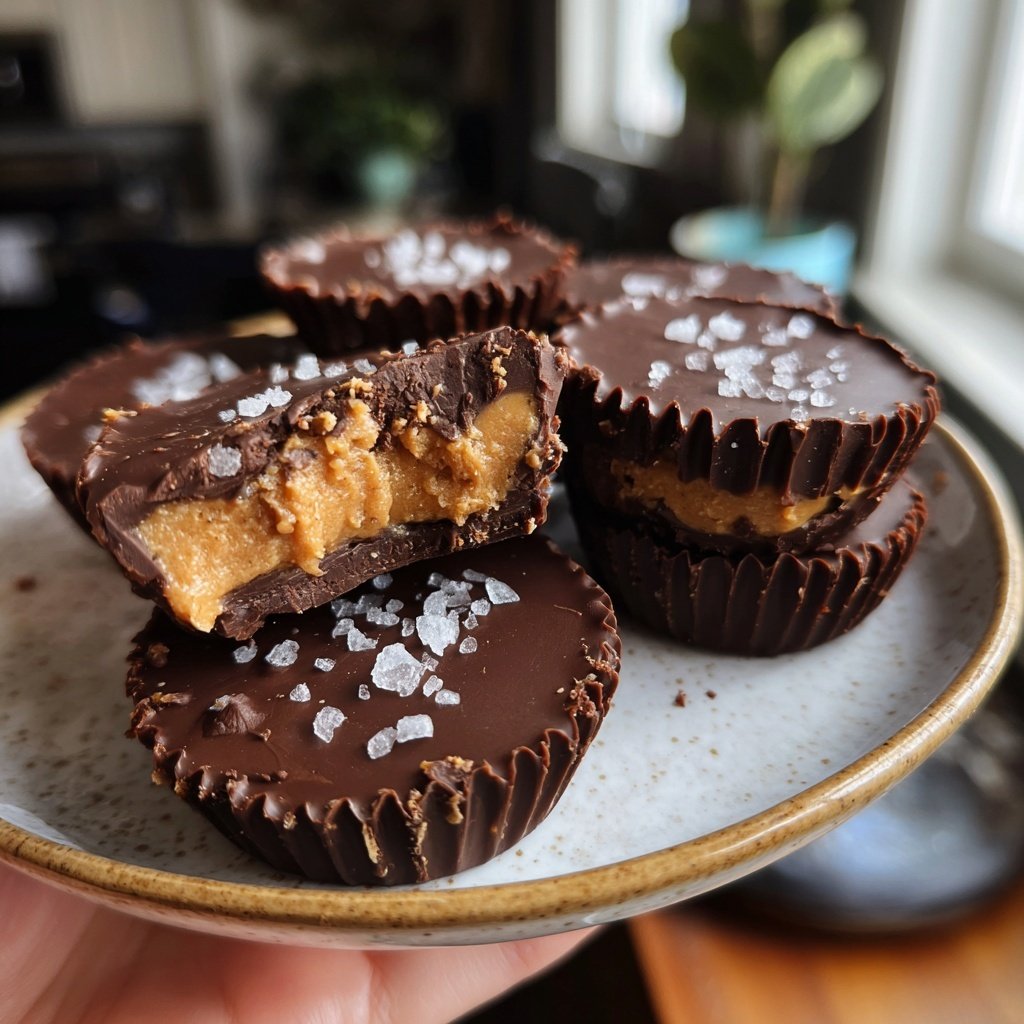
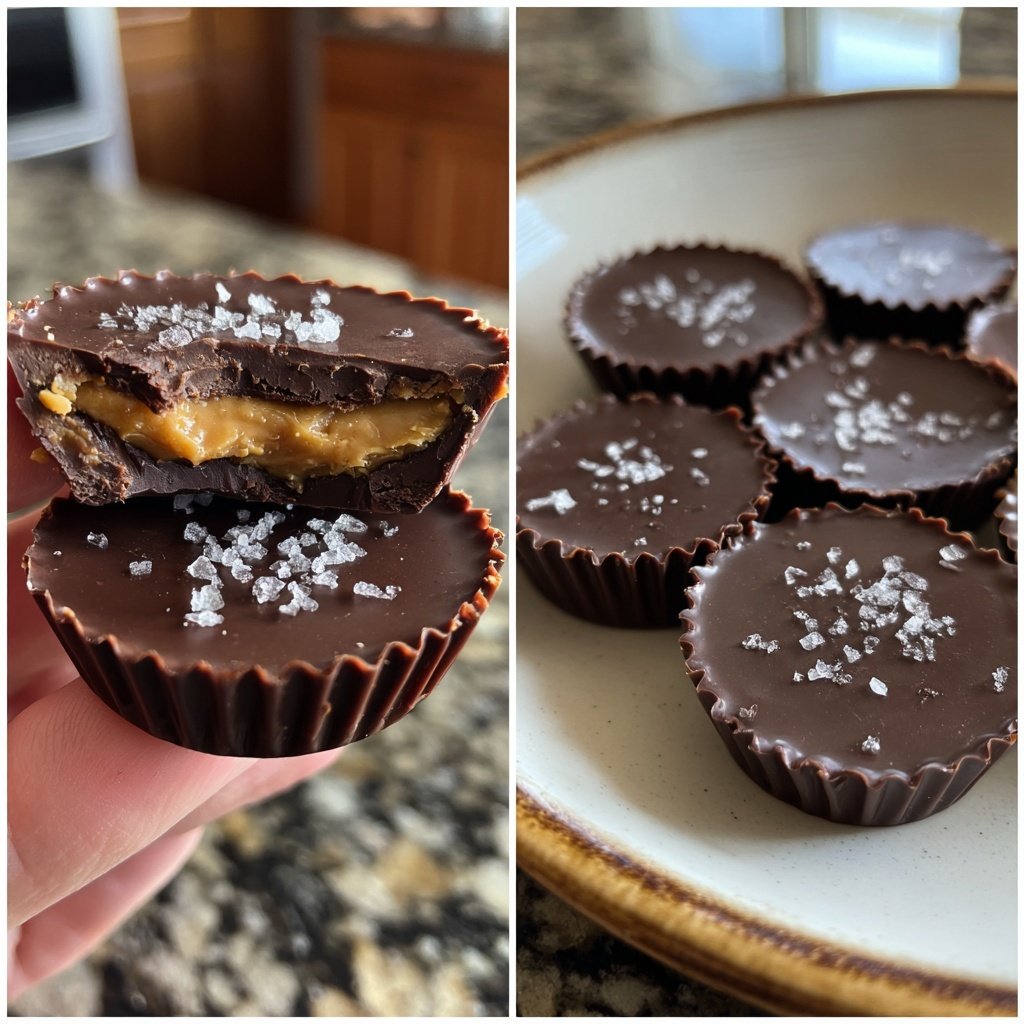
Making these Homemade Reese’s Cups with Sea Salt has been an absolute joy for me! The method I discovered guarantees a luscious chocolate shell that perfectly complements the creamy peanut butter filling. What really sets these apart is the sprinkle of sea salt on top, which beautifully balances the richness of the chocolate and brings out the flavors. I learned early on to keep the chocolate warm while filling the cups to prevent it from hardening too quickly.
Each time I whip up a batch, I find myself experimenting with different types of chocolate and even varying the ratio of peanut butter. This simple recipe allows for personalization, and I love how it invites creativity in the kitchen. Whether you stick to the classic flavor or try something new, these cups will surely impress anyone who tries them!
Why You Will Love This Recipe
- Decadent chocolate flavor with a hint of sea salt
- Creamy peanut butter filling that satisfies cravings
- Perfectly portioned for sharing or indulging
The Importance of Quality Ingredients
When it comes to Homemade Reese’s Cups, the quality of the chocolate and peanut butter is paramount. Opt for high-quality semi-sweet chocolate chips, as they melt into a smooth, glossy finish that’s essential for achieving that shiny outer layer. Look for chocolate with a cocoa content around 60% for a balanced sweetness without overpowering the nutty flavor.
For the peanut butter, using a smooth, creamy variety will yield the best consistency in your filling. Natural peanut butter can work as a substitute, but be aware that it may alter the texture slightly since it contains more oil. Additionally, if you prefer a bit of crunch in your filling, consider using chunky peanut butter for a delightful textural contrast.
Setting the Perfect Cups
Molding your cups correctly is a crucial step that significantly affects the final product. After coating the muffin tin with melted chocolate, be sure to allow it to set until it begins to firm up but is not completely hard. This could take about 10-15 minutes in the fridge. The ideal point is when the chocolate is still slightly soft, making it easy to press in the peanut butter filling without breaking the chocolate shell.
Don’t rush the chilling process; doing so might cause the chocolate to crack when you remove the cups from the tin. If you find that your chocolate is too thick to coat, gently reheat it until it’s more pliable while avoiding overheating, which could scorch the chocolate.
Ingredients
Ingredients
For the Cups
- 2 cups semi-sweet chocolate chips
- 1 cup creamy peanut butter
- 1/4 cup powdered sugar
- 1/2 teaspoon vanilla extract
- Sea salt for sprinkling
Instructions
Instructions
Prepare the Chocolate
Melt the chocolate chips in a microwave-safe bowl in 30-second intervals, stirring after each, until smooth.
Mold the Cups
Using a spoon, coat the bottoms and sides of a muffin tin with melted chocolate. Allow it to set at room temperature or in the fridge.
Mix the Filling
In a bowl, combine the peanut butter, powdered sugar, and vanilla extract until smooth.
Assemble the Cups
Spoon the peanut butter mixture into the set chocolate cups, filling each about 2/3 full.
Top with Chocolate
Cover the peanut butter filling with more melted chocolate, smoothing it over. Sprinkle lightly with sea salt.
Chill and Serve
Place the muffin tin in the refrigerator for 10-15 minutes until fully set. Remove and enjoy!
Pro Tips
- For a little twist, try using dark chocolate or adding chopped nuts into the peanut butter filling.
Storage Tips for Freshness
Once your Homemade Reese’s Cups are set, they can be stored in an airtight container at room temperature for up to a week. However, for prolonged freshness, refrigerating them is the best option, which can extend their shelf life to about two weeks. Just remember to let them sit at room temperature for a few minutes before biting in, as this will soften the chocolate slightly and enhance the flavor experience.
If you prefer your cups chilled, they can also be stored in the freezer, allowing for a delightful and refreshing treat during hotter months. Simply place them in a freezer-safe container with parchment paper between layers to prevent them from sticking together. They’ll stay fresh for up to three months, but be sure to let them thaw for a few minutes before enjoying.
Customization Ideas
The beauty of Homemade Reese’s Cups lies in their versatility. For those who love a hint of spice, consider adding a teaspoon of cinnamon or a pinch of cayenne pepper to the peanut butter filling for a surprising kick. Alternatively, a splash of maple syrup or a dash of honey can add an extra layer of sweetness that complements the rich chocolate beautifully.
For a different flavor profile, try experimenting with various types of chocolate. Dark chocolate not only provides a richer taste but often pairs well with the saltiness of the sea salt. White chocolate could also be an interesting twist, especially for those who enjoy its creamy sweetness, though keep in mind that it will be much sweeter than semi-sweet chocolate.
Questions About Recipes
→ Can I use natural peanut butter?
Yes, but make sure it’s well-stirred to avoid uneven consistency.
→ How do I store these homemade Reese's cups?
Store them in an airtight container in the refrigerator to keep them fresh.
→ Can I make these ahead of time?
Absolutely! These cups can be made a few days in advance and stored in the fridge.
→ What if I have leftover chocolate?
You can use it for drizzling on other desserts or simply enjoy it as a snack!
Homemade Reese’s Cups with Sea Salt
Created by: Jenna Rowland
Recipe Type: Dessert Magic
Skill Level: Beginner
Final Quantity: 12 servings
What You'll Need
For the Cups
- 2 cups semi-sweet chocolate chips
- 1 cup creamy peanut butter
- 1/4 cup powdered sugar
- 1/2 teaspoon vanilla extract
- Sea salt for sprinkling
How-To Steps
Melt the chocolate chips in a microwave-safe bowl in 30-second intervals, stirring after each, until smooth.
Using a spoon, coat the bottoms and sides of a muffin tin with melted chocolate. Allow it to set at room temperature or in the fridge.
In a bowl, combine the peanut butter, powdered sugar, and vanilla extract until smooth.
Spoon the peanut butter mixture into the set chocolate cups, filling each about 2/3 full.
Cover the peanut butter filling with more melted chocolate, smoothing it over. Sprinkle lightly with sea salt.
Place the muffin tin in the refrigerator for 10-15 minutes until fully set. Remove and enjoy!
Extra Tips
- For a little twist, try using dark chocolate or adding chopped nuts into the peanut butter filling.
Nutritional Breakdown (Per Serving)
- Calories: 380 kcal
- Total Fat: 26g
- Saturated Fat: 15g
- Cholesterol: 195mg
- Sodium: 85mg
- Total Carbohydrates: 32g
- Dietary Fiber: 3g
- Sugars: 24g
- Protein: 6g