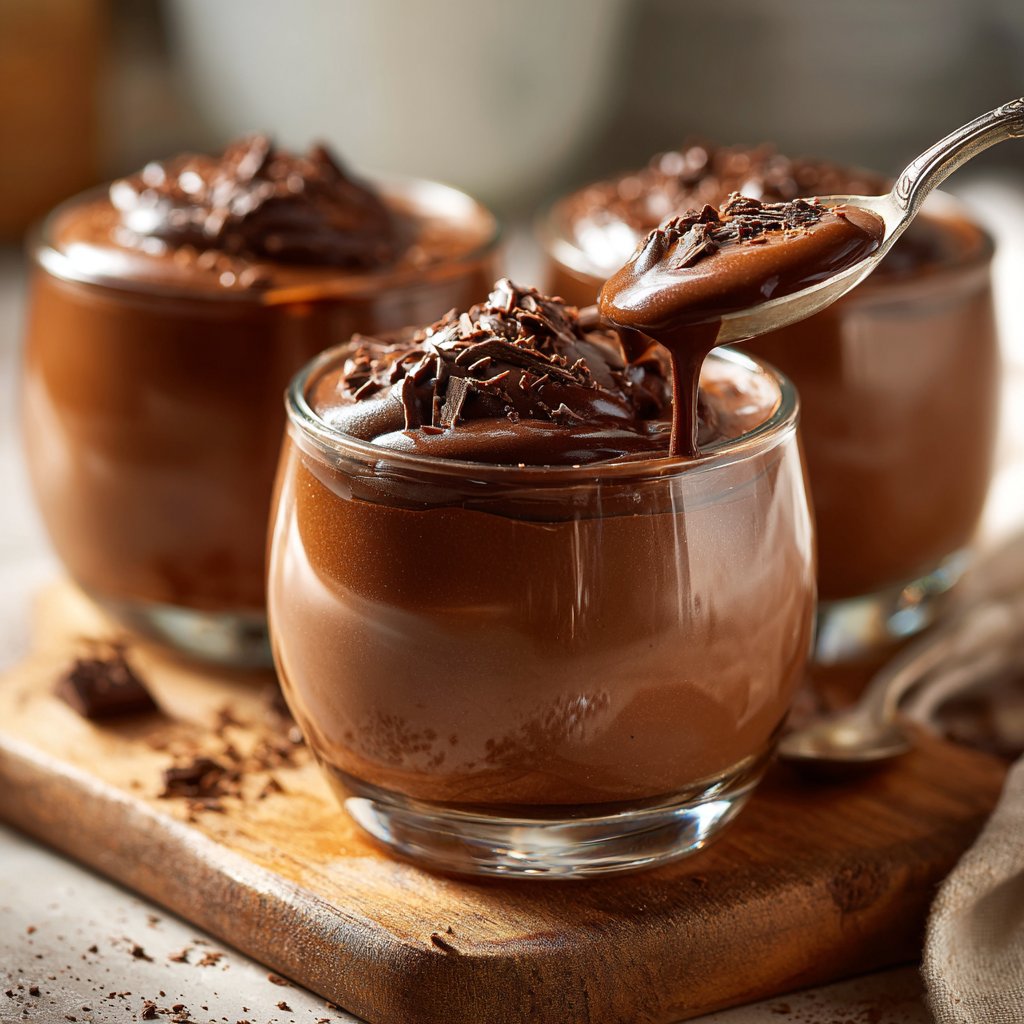
Creamy Chocolate Pudding Cups
Highlighted under: Dessert Magic
I love making these creamy chocolate pudding cups because they are a delightful treat that brings back fond memories of my childhood. The rich and velvety texture paired with the deep chocolate flavor always puts a smile on my face. Whether I’m serving them at a dinner party or enjoying them as a late-night snack, they are a real crowd-pleaser. With just a few simple ingredients, I can whip these up in no time and treat myself to a sweet indulgence that feels incredibly rewarding.
Making creamy chocolate pudding cups is a cherished part of my culinary routine. I experimented with various methods, but I found that the key to achieving that luscious texture lies in whisking the mixture over low heat, allowing the chocolate to melt slowly and combine beautifully with the milk and sugar. The process is surprisingly quick, which makes it perfect for a last-minute dessert.
I've also discovered that letting the pudding chill for a few hours allows the flavors to meld together, intensifying that chocolatey goodness. Oftentimes, a dollop of whipped cream or a sprinkle of chocolate shavings on top takes this dessert to the next level, making it an elegant addition to any dinner.
Why You Will Love These Pudding Cups
- Luxuriously creamy texture that delights every spoonful
- Rich chocolate flavor that satisfies any sweet craving
- Quick to make and perfect for last-minute desserts
Understanding Chocolate in Pudding
Choosing the right chocolate is crucial for achieving the best flavor in your pudding. I recommend using high-quality semisweet chocolate for a perfectly balanced sweetness that complements the cocoa powder. If you prefer a darker chocolate flavor, you can opt for bittersweet chocolate instead. Just be mindful of the sweetness level when adjusting the sugar, as bittersweet varieties will impart less sweetness than semisweet ones.
The chocolate's melting into the warm pudding mixture not only adds depth but also contributes to the pudding's luxurious mouthfeel. By incorporating the chocolate off the heat, you ensure it melts evenly, preventing graininess. Stir gently to avoid introducing air, which can lead to an undesirable fluffiness in a pudding that should be smooth and dense.
Techniques for a Silky Texture
The key to a perfectly silky pudding is a careful cooking technique. When whisking the cornstarch with dry ingredients, ensure there are no lumps before adding the milk. Gradually integrating the milk into the dry mix helps prevent clumping, which can lead to uneven thickening. Use a whisk rather than a spoon to achieve a lump-free base and ensure even cooking.
As the pudding cooks, continue whisking constantly. You'll notice the mixture beginning to thicken after about four minutes, reaching a smooth, glossy consistency that should bubble lightly. If it begins to boil vigorously, reduce the heat slightly to keep it at a gentle simmer, which helps achieve that rich, velvety texture without burning.
Make-Ahead and Serving Suggestions
These pudding cups are perfect for making ahead of time. They can be refrigerated for up to 2 days, allowing the flavors to deepen. Just make sure to cover each cup tightly with plastic wrap. This prevents a skin from forming and keeps the pudding fresh. For an elegant presentation, consider serving them in clear cups or glass jars to showcase the layers and toppings.
When it's time to serve, get creative with toppings. A dollop of freshly whipped cream adds airiness, while chocolate shavings introduce a bit of crunch. For a fresh twist, add berries for a tart contrast to the richness of the chocolate. You can also explore flavor variations by infusing the pudding with coffee or liqueur for an adult twist. Just remember to adjust the sugar accordingly if you’re adding extra sweetness.
Ingredients
Ingredients
For the Pudding
- 2 cups whole milk
- 1/2 cup granulated sugar
- 1/3 cup unsweetened cocoa powder
- 1/4 cup cornstarch
- 1/4 teaspoon salt
- 1 teaspoon vanilla extract
- 4 ounces semisweet chocolate, chopped
For Topping (optional)
- Whipped cream
- Chocolate shavings
- Fresh berries
Mixing in quality chocolate can make a big difference in flavor.
Instructions
Instructions
Prepare the Chocolate Mixture
In a saucepan, combine sugar, cocoa powder, cornstarch, and salt. Gradually whisk in the milk until smooth and fully combined.
Cook the Mixture
Place the saucepan over medium heat, continuously whisking the mixture until it thickens and starts to bubble, about 5 minutes.
Incorporate the Chocolate
Remove from heat and add chopped chocolate and vanilla extract. Stir until the chocolate is completely melted and the mixture is smooth.
Chill the Pudding
Divide the pudding into serving cups and cover with plastic wrap, making sure it touches the surface to prevent a skin from forming. Refrigerate for at least 2 hours.
Serve
Top with whipped cream, chocolate shavings, or fresh berries before serving.
Enjoy your delightful dessert!
Pro Tips
- For an extra flavor boost, consider adding a touch of espresso powder to the mix—it enhances the chocolate richness without making it taste like coffee.
Ingredient Substitutions
If you're looking for a dairy-free version, you can substitute whole milk with almond or coconut milk. However, keep in mind that these alternatives may alter the flavor slightly and result in a thinner consistency. For a richer alternative, oat milk can be a great choice as it often has a creamier texture that mimics whole milk more closely.
For those with dietary restrictions, a low-sugar or sugar substitute can work in place of granulated sugar. Just ensure that the substitute you choose can properly caramelize and integrate, as some alternatives don't behave the same way during cooking and may affect the pudding's final texture.
Storage and Freezing
If you've made a larger batch than you can consume, the pudding can be stored in an airtight container in the refrigerator for up to three days. Be sure to cover the surface directly with plastic wrap to avoid drying out and forming a skin. When ready to enjoy, simply give it a gentle stir to regain its creamy texture.
While freezing isn't recommended for all puddings due to potential texture changes, if you must, freeze it in small portions. This way, you can thaw individual servings as needed. Be aware that once thawed, the pudding may seem slightly grainy but can be smoothed out with a whisk or by blending briefly before serving.
Troubleshooting Common Issues
A common issue when making chocolate pudding is the formation of lumps. If you find yourself with a lumpy mixture, use an immersion blender or transfer it to a blender after cooking to achieve a smooth consistency. Always ensure that the cornstarch is mixed well with the cocoa and sugar before adding liquids to prevent this.
Another challenge is overcooking, which can lead to a grainy pudding. If you notice this happening, remove it from the heat at the first signs of thickening and immediately incorporate the chocolate. It’s better to undercook slightly and let the pudding thicken in the fridge, where it continues to set and develop flavor.
Questions About Recipes
→ Can I use a dairy alternative?
Yes, you can replace whole milk with almond milk or coconut milk for a dairy-free option.
→ How long can I keep the pudding in the fridge?
The pudding can last up to 3 days in the refrigerator if properly covered.
→ Can I make this pudding ahead of time?
Absolutely! This pudding is great when made a day ahead, allowing the flavors to meld even more.
→ Is there a way to make it healthier?
You can reduce the amount of sugar or use a natural sweetener like maple syrup to make it a bit healthier.
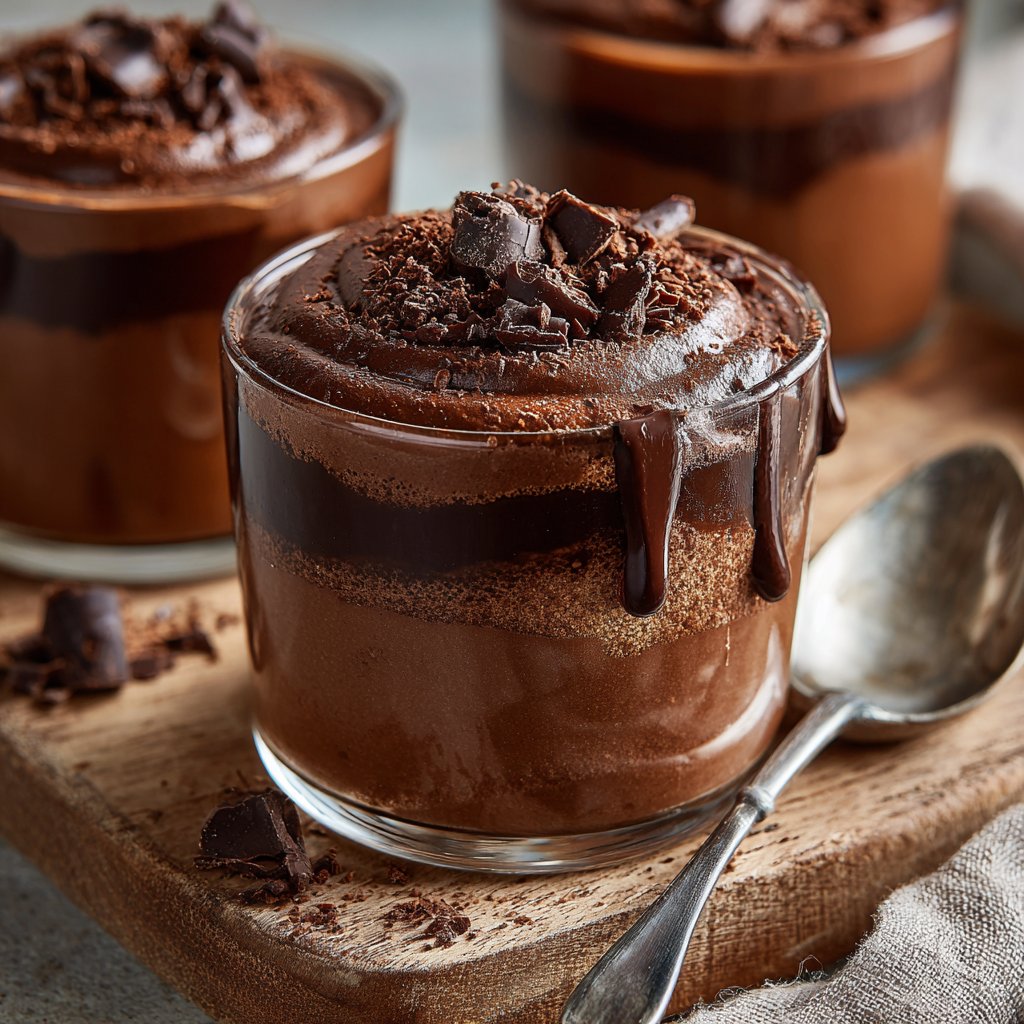
Creamy Chocolate Pudding Cups
What You'll Need
For the Pudding
- 2 cups whole milk
- 1/2 cup granulated sugar
- 1/3 cup unsweetened cocoa powder
- 1/4 cup cornstarch
- 1/4 teaspoon salt
- 1 teaspoon vanilla extract
- 4 ounces semisweet chocolate, chopped
For Topping (optional)
- Whipped cream
- Chocolate shavings
- Fresh berries
How-To Steps
In a saucepan, combine sugar, cocoa powder, cornstarch, and salt. Gradually whisk in the milk until smooth and fully combined.
Place the saucepan over medium heat, continuously whisking the mixture until it thickens and starts to bubble, about 5 minutes.
Remove from heat and add chopped chocolate and vanilla extract. Stir until the chocolate is completely melted and the mixture is smooth.
Divide the pudding into serving cups and cover with plastic wrap, making sure it touches the surface to prevent a skin from forming. Refrigerate for at least 2 hours.
Top with whipped cream, chocolate shavings, or fresh berries before serving.
Extra Tips
- For an extra flavor boost, consider adding a touch of espresso powder to the mix—it enhances the chocolate richness without making it taste like coffee.
Nutritional Breakdown (Per Serving)
- Calories: 380 kcal
- Total Fat: 26g
- Saturated Fat: 15g
- Cholesterol: 195mg
- Sodium: 85mg
- Total Carbohydrates: 32g
- Dietary Fiber: 3g
- Sugars: 24g
- Protein: 6g