Homemade Marshmallows
Highlighted under: Dessert Magic
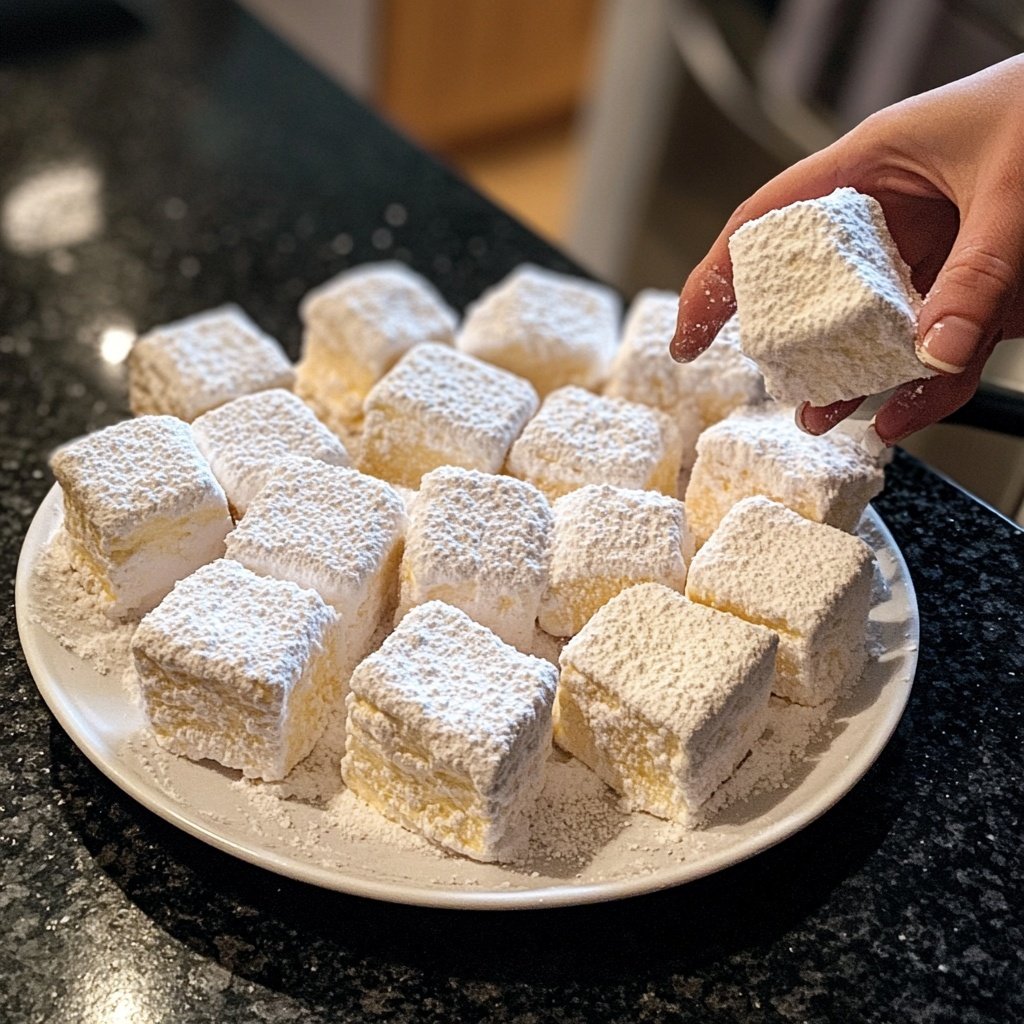
Delight in the fluffy, sweet world of Homemade Marshmallows. Perfect for hot chocolate, s'mores, or simply enjoying on their own!
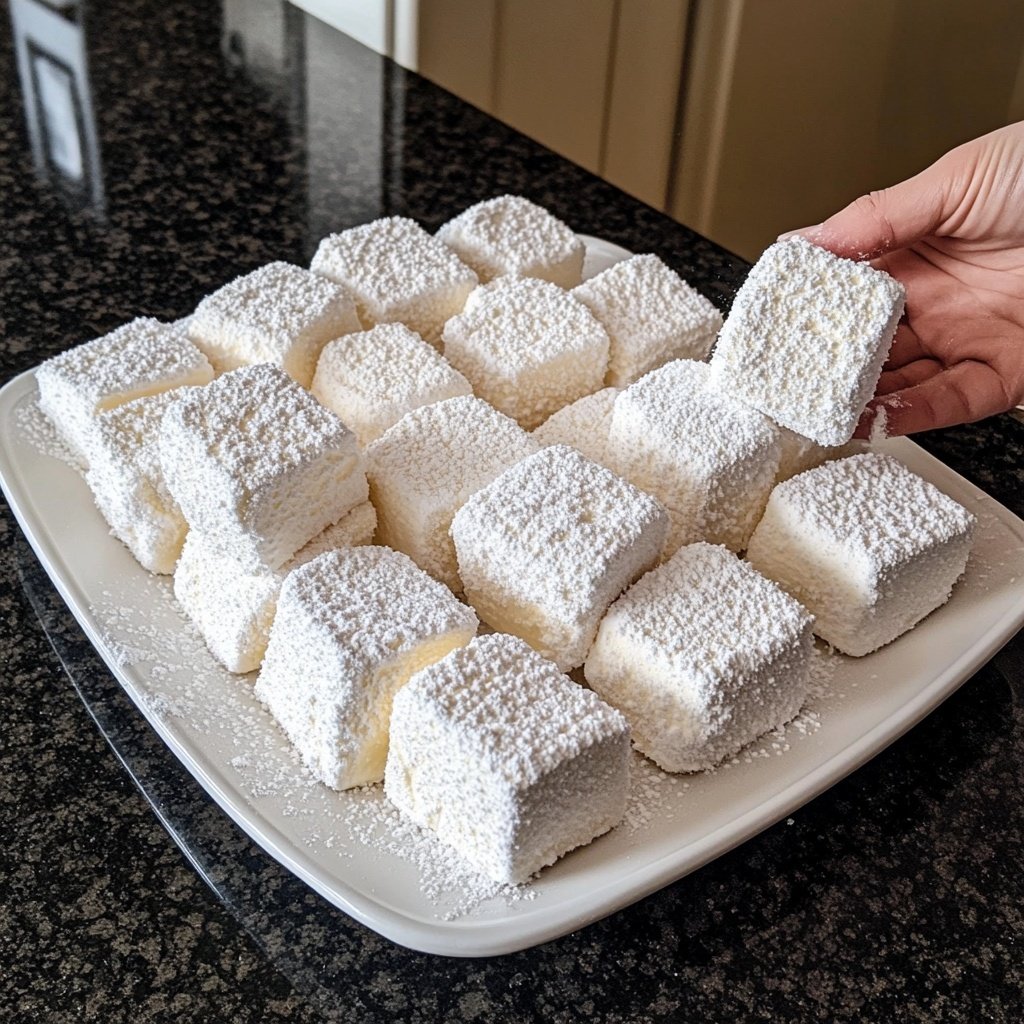
Making marshmallows at home is a fun and rewarding experience. These fluffy treats are not only delicious but also customizable with flavors and colors. Whether you're using them for desserts or enjoying them on their own, homemade marshmallows are sure to impress!
Why You Will Love This Recipe
- Soft and fluffy texture that melts in your mouth
- Customizable flavors and colors to match your mood
- Perfect for gifting or as a sweet treat for gatherings
The History of Marshmallows
Marshmallows have a rich history that dates back to ancient Egypt, where they were made from the sap of the marshmallow plant, mixed with honey and nuts. These delightful treats were reserved for royalty and considered a delicacy. Over time, the recipe evolved, and by the 19th century, marshmallows as we know them today began to take shape, thanks to the introduction of gelatin as a stabilizing agent.
In the early 1900s, marshmallows became commercially popular in the United States, primarily due to innovative manufacturing processes. They became a staple in American households, especially during the winter months when hot chocolate and s'mores were enjoyed around campfires. Today, marshmallows are a beloved treat enjoyed worldwide, celebrated for their versatility and sweet, airy texture.
Tips for Making Perfect Marshmallows
To achieve the perfect marshmallow texture, it's crucial to measure your ingredients accurately. Use a kitchen scale for precision, especially for the gelatin and sugar. Additionally, ensure that your mixing bowl and utensils are completely clean and dry, as any moisture can affect the fluffiness of the marshmallows.
When whipping the marshmallow mixture, be patient. Whipping for at least 10 minutes allows the mixture to incorporate air, creating that light and fluffy texture. Consider using a stand mixer, as it can handle the thick mixture better than a hand mixer.
For added flavor, experiment with extracts or food-safe flavorings. You can create unique combinations like peppermint, almond, or even citrus marshmallows. Just remember to start with a small amount and adjust according to your taste.
Storing and Using Your Homemade Marshmallows
Once your marshmallows have set and are cut, store them in an airtight container at room temperature. They can last for up to three weeks, making them a great make-ahead treat for parties or gatherings. If you notice them becoming slightly sticky, a light dusting of powdered sugar can help restore their non-sticky texture.
Homemade marshmallows are incredibly versatile. Use them to elevate your hot chocolate, make s'mores, or even incorporate them into desserts like rice crispy treats. You can also skewer them on sticks and roast them over a fire for a delightful treat that brings back childhood memories.
For those looking to gift these treats, consider packaging them in decorative bags or jars. Adding a personal note or including a recipe card with suggestions on how to use them can make your homemade marshmallows an even more special gift.
Ingredients
Gather the following ingredients to make your homemade marshmallows:
Ingredients
- 1 cup granulated sugar
- 1/2 cup light corn syrup
- 1/4 cup water
- 2 tablespoons gelatin powder
- 1/2 cup cold water
- 1 teaspoon vanilla extract
- Powdered sugar for dusting
Make sure to have a greased pan ready for your marshmallow mixture!
Instructions
Follow these steps to create your own marshmallows:
Prepare the Gelatin
In a small bowl, sprinkle gelatin over 1/2 cup of cold water. Let it sit for about 10 minutes to bloom.
Cook the Sugar Mixture
In a saucepan, combine granulated sugar, light corn syrup, and 1/4 cup of water. Cook over medium heat, stirring until the sugar dissolves. Bring to a boil without stirring until it reaches 240°F (115°C).
Combine and Whip
Remove the saucepan from heat. Add the bloomed gelatin and vanilla extract, stirring until dissolved. Pour the mixture into a mixing bowl and whip on high speed until fluffy and thick, about 10 minutes.
Set the Mixture
Pour the marshmallow mixture into a greased pan. Spread evenly and let it set for at least 4 hours or overnight.
Cut and Dust
Once set, dust the top with powdered sugar. Cut into squares and dust all sides with more powdered sugar to prevent sticking.
Enjoy your homemade marshmallows in hot chocolate, s'mores, or as a sweet snack!
Pro Tips
- For flavored marshmallows, experiment with different extracts like peppermint or almond. You can also add food coloring for a fun twist!
Common Mistakes to Avoid
One common mistake when making marshmallows is not allowing the gelatin to bloom properly. This step is essential as it ensures the gelatin dissolves evenly, resulting in a smooth and fluffy texture. Always allow the gelatin to sit in water for the recommended time before mixing it with the sugar syrup.
Another pitfall is cooking the sugar syrup to the wrong temperature. Using a candy thermometer is highly recommended to ensure accuracy. If the syrup is undercooked, the marshmallows will be too sticky, while overcooking can lead to a hard texture. Aim for the precise temperature of 240°F (115°C) for optimal results.
Flavor Variations to Try
Once you master the basic marshmallow recipe, feel free to get creative with flavors. Adding flavored extracts is an easy way to create variations. For a fruity twist, consider incorporating lemon or orange zest along with the extract for a refreshing taste.
You can also fold in ingredients like finely chopped nuts, chocolate chips, or even cookie crumbs before pouring the mixture into the pan. This adds texture and additional flavor, making your marshmallows truly unique and enjoyable.
Questions About Recipes
→ Can I use gelatin sheets instead of powder?
Yes, you can use gelatin sheets. Use about 3 sheets for this recipe, blooming them in the cold water before adding.
→ How long do homemade marshmallows last?
Homemade marshmallows can last about 2-3 weeks when stored in an airtight container.
→ Can I freeze homemade marshmallows?
Yes, you can freeze marshmallows! Just make sure to dust them with powdered sugar and store them in a freezer-safe container.
→ What can I do with leftover marshmallows?
Leftover marshmallows can be used in rice krispie treats, added to desserts, or simply enjoyed as a sweet snack.
Homemade Marshmallows
Created by: Jenna Rowland
Recipe Type: Dessert Magic
Skill Level: Beginner
Final Quantity: 16 marshmallows
What You'll Need
Ingredients
- 1 cup granulated sugar
- 1/2 cup light corn syrup
- 1/4 cup water
- 2 tablespoons gelatin powder
- 1/2 cup cold water
- 1 teaspoon vanilla extract
- Powdered sugar for dusting
How-To Steps
In a small bowl, sprinkle gelatin over 1/2 cup of cold water. Let it sit for about 10 minutes to bloom.
In a saucepan, combine granulated sugar, light corn syrup, and 1/4 cup of water. Cook over medium heat, stirring until the sugar dissolves. Bring to a boil without stirring until it reaches 240°F (115°C).
Remove the saucepan from heat. Add the bloomed gelatin and vanilla extract, stirring until dissolved. Pour the mixture into a mixing bowl and whip on high speed until fluffy and thick, about 10 minutes.
Pour the marshmallow mixture into a greased pan. Spread evenly and let it set for at least 4 hours or overnight.
Once set, dust the top with powdered sugar. Cut into squares and dust all sides with more powdered sugar to prevent sticking.
Extra Tips
- For flavored marshmallows, experiment with different extracts like peppermint or almond. You can also add food coloring for a fun twist!
Nutritional Breakdown (Per Serving)
- Calories: 120 kcal
- Total Fat: 0g
- Saturated Fat: 0g
- Cholesterol: 0mg
- Sodium: 5mg
- Total Carbohydrates: 30g
- Dietary Fiber: 0g
- Sugars: 28g
- Protein: 1g